February 10, 2011

Broaches

Today I want to show you how I tried to combine the beauty and utility of quilling. I am sure I am not the first one who tried doing this (as a matter of fact, I've seen so many artists who create mostly jewelry with quilling technique), but these are my first attempts, were made for my friend and, as far as I can tell, she was very pleased with them. What do you think?


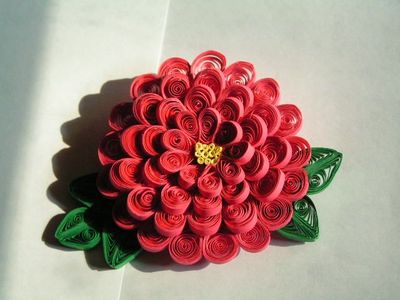
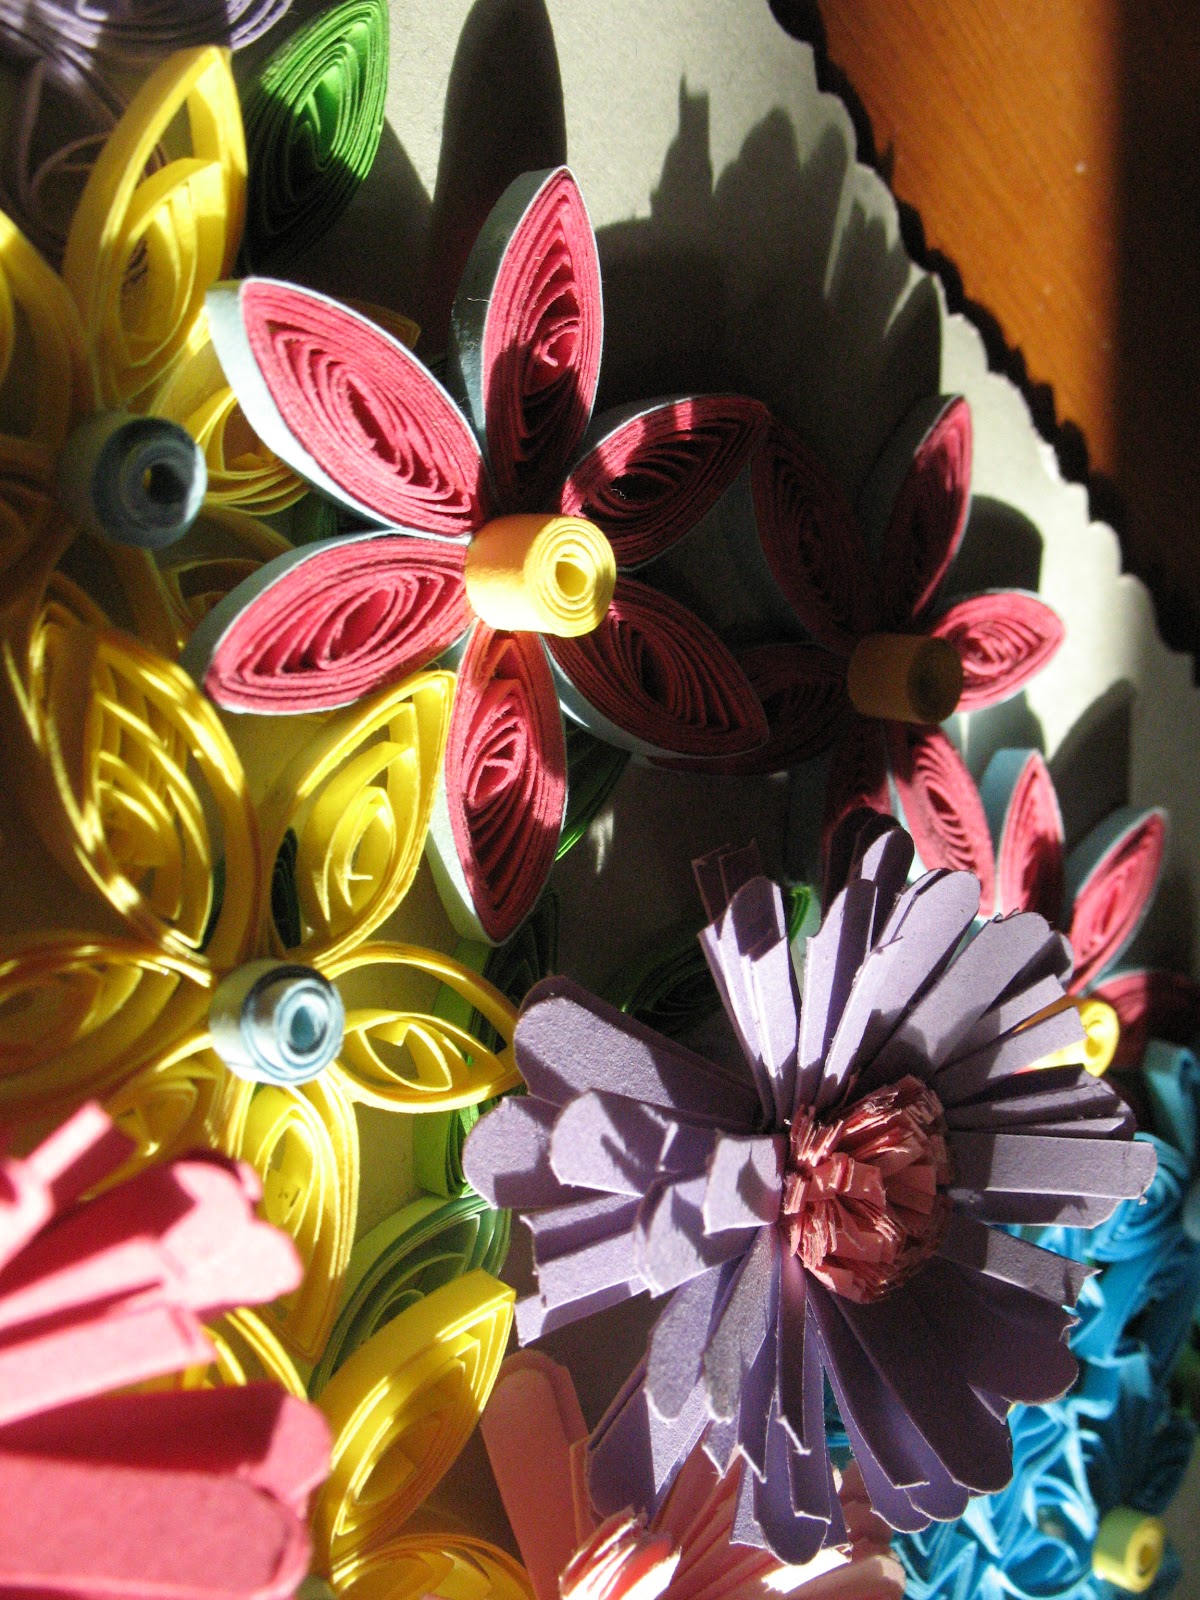
The two models were made after two pictures I had in my Quilling folder and the models were choosed by my friend. Here they are:


What I am sorry about is that I cannot remember where I took these pictures from and I cannot give the credits to the authors, but if you see this and you are the artist or somebody who knows the artist, please let me a comment and tell me if I can keep your pictures here of if it bothers you. Thanks a lot. I usually try to make my own models but this time this is what I was requested to do so...this is what I did.
I promise I'll show you original creations quite soon. I do! :)
But until next time,
Behave And Quill!

Later Edit: My blogger friend, kiddo told me that she fortunately found the author of the butterfly, you can see her work hereUnfortunately, Michaela does not have a blog yet, but she told me she intends to create one. Hope we hear from that soon! Thanks a lot, kiddo!

February 7, 2011

My Custom Agenda

Because last time I showed you a project that implied a little more work than what I had posted before, I wanted to stay in this "hard-labour" area and show you my 2011 agenda which I sooo love :D
When I bought it, I knew it was very beautiful already, but I knew in that very moment that I wanted to add some quilling on/in it. I got drawn by the beautiful silver pattern and also by the deep-ocean-inspired blue cover. Because it was more of a notebook and less an agenda, I decided it needed a "glowy" 2011 on the first page, so I made one.
The quilling itself is essentially nothing complicated, just basic coils shaped to create sort of a swirly pattern.
Here's what came out:


Because I told you I wanted the numbers to be glowy, I filled them up with navy blue glitter, using the best technique I've seen so far, on Cathe Holden's blog - JSIM (one of the first blogs I've discovered when I started enjoying crafting and one of my favourites - although Cathe doesn't do quilling, but graphics - and she's GREAT at it!) and which you can find HERE.
Before discovering her post, I was quite afraid of the glitter - or better said of using it -  (don't laugh, I really was, because I never knew how to put it, how much, when, why and, most important how can I not disperse it all over the place).
What I basically learnt when I saw her glitter paperworks is that you better use bottled glitter, like that you can see in the pictures there, and NOT those glue pens containing glitter, because this way you can apply a nice even coat of glitter on the pre-applied adhesive you use, let it dry and take out the excess. I can assure you the results are exactly as you can see them in Cathe's post (I obtained a comparable result starting the first time I used bottled dry glitter). The pens, which I don't recomend, contain too much adhesive and little glitter, dry very slow (at least those I tried did) and the final results aren't satisfactory at all.
Well, hope this was both nice and helpful to you and I'll be waiting for your comments and impressions.
But,
Until next time,
Behave And Quill!

February 2, 2011

"The Toothpick Era"

Today I decided to show you something I made in what  I call "The Toothpick Era", meaning the beginnings of my quilling-passion, when I didn't have tools but an enourmous will, so I improvised the tools, got the first adhesive (which wasn't that good, by the way :)) ) I could find and started quilling.
Actually, this is not my very first artwork, but is the very first which was so big and complex and it was a present for my friend.


Because I was very "new" in this, I didn't have many ideas at that time, so I started surfing all the quilling blogs I knew to find another artwork which could inspire me. I don't know how visible it is(I think you can tell that), but my inspiration art work was this from Inna's Creations (definitely one of my top three favourite quilling blogs of all time!) :

I know, it's not the same thing, I didn't intend it to be, but still I needed to tell you who "helped" my imagination with this one. Thank you very much, Inna ! I love your work!
Enjoy and tell me what you think about it!

And don't forget:
Until next time,
Behave And Quill!